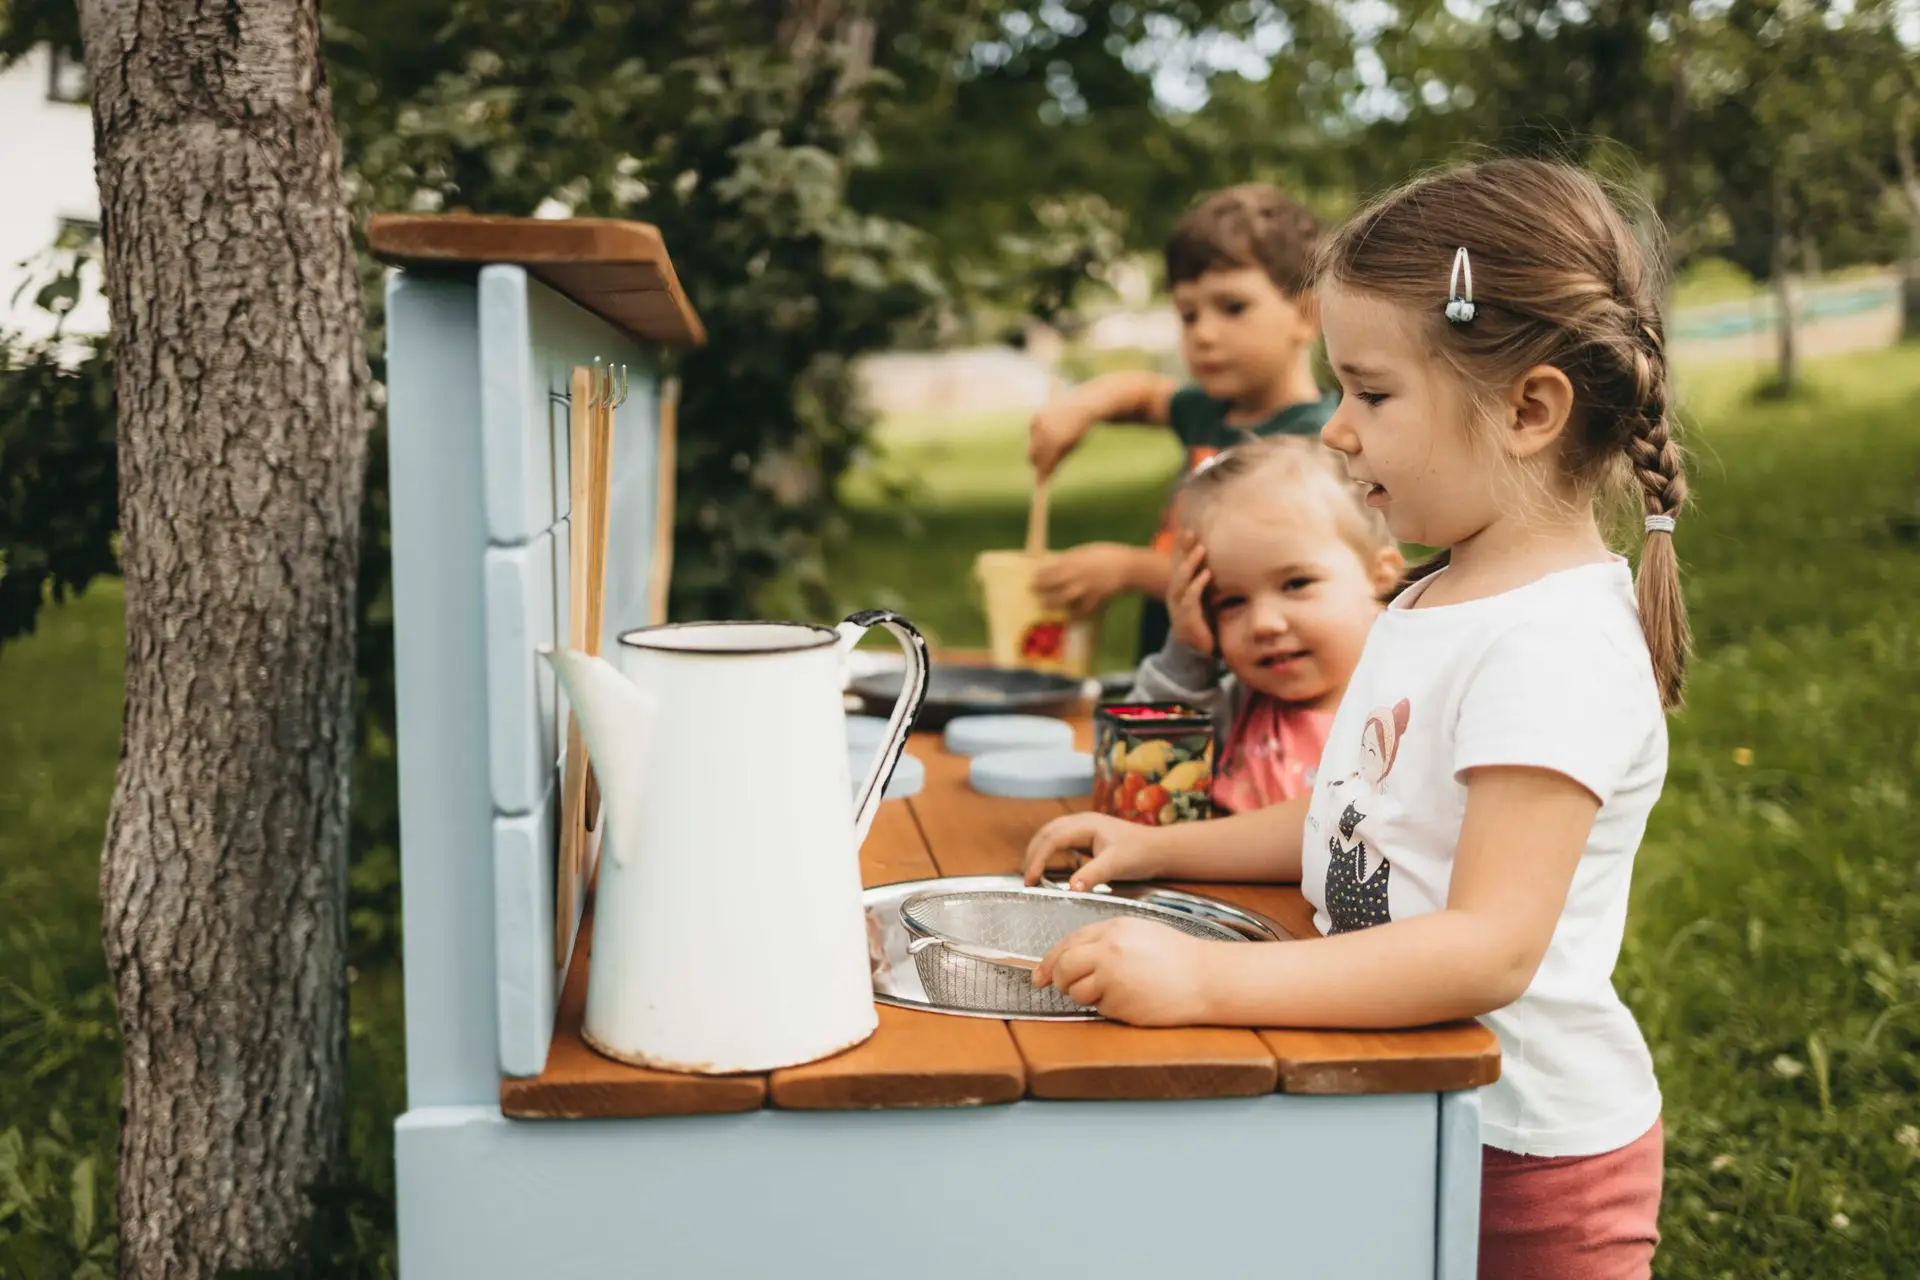
So you’ve decided to get a mud kitchen — great choice. Now what? Setting up a mud kitchen in your garden doesn’t have to be complicated, but a few thoughtful decisions at the start will make the experience much better for your child. Here’s everything you need to know.
Step 1 — Choose the Right Spot
The location of your mud kitchen matters more than most parents realise. Here’s what to look for:
- Near a water source: The closer to an outdoor tap, the better. Mud play needs water, and refilling from a bucket gets old quickly.
- Semi-shaded: Avoid full sun in summer (hot surfaces) and full shade (cold and damp). A spot that catches morning sun and afternoon shade is ideal.
- On a hard surface or bark chips: Grass beneath a mud kitchen turns to a quagmire fast. Paving slabs, bark chips, or rubber matting keeps the play area contained.
- Visible from the house: Position it near a window so you can keep an eye on play without hovering.
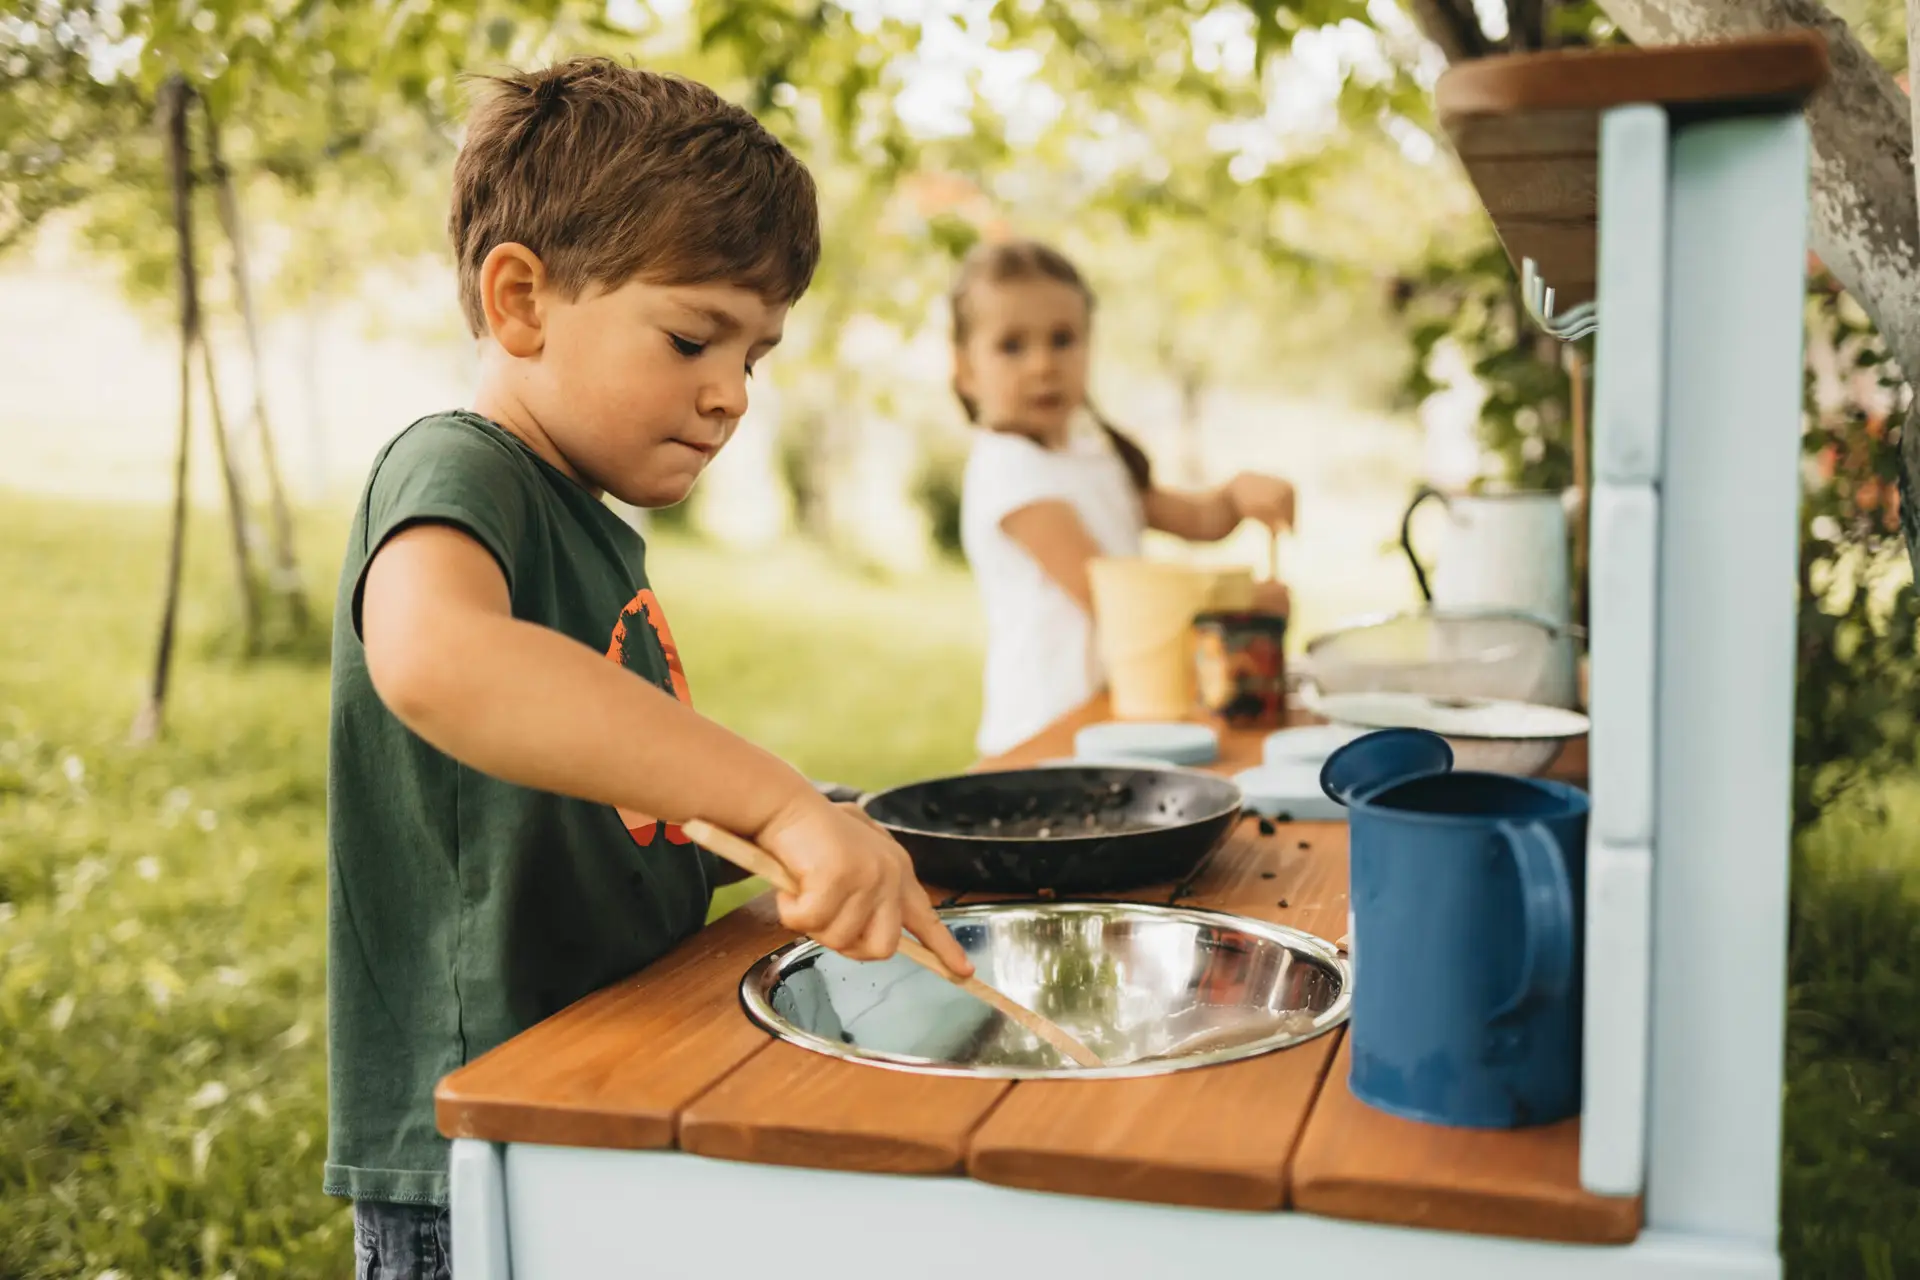
Step 2 — Set Up Your Mud Kitchen
Our mud kitchens arrive flat-packed and assemble quickly — most parents have them ready in under 30 minutes. A few tips:
- Level the surface first: A slightly uneven garden can make a freestanding kitchen wobble. Use a spirit level and add paving slabs underneath if needed.
- Face it away from the wind: In the UK, that usually means facing east or south.
- Secure it if needed: If you live in a windy area, you can secure the legs to a patio with outdoor screws.
Step 3 — Stock It Up
The mud kitchen itself is just the start. What you put in and around it transforms the play experience.
Essentials:
- Assorted bowls, pots, and pans (charity shops are perfect for this)
- A few wooden or metal spoons and spatulas
- A muffin tin or ice cube tray (brilliant for “baking”)
- A small watering can
Loose parts to collect from the garden:
- Sticks and small stones
- Pine cones and seed pods
- Leaves of different sizes and textures
- Flower petals (in season)
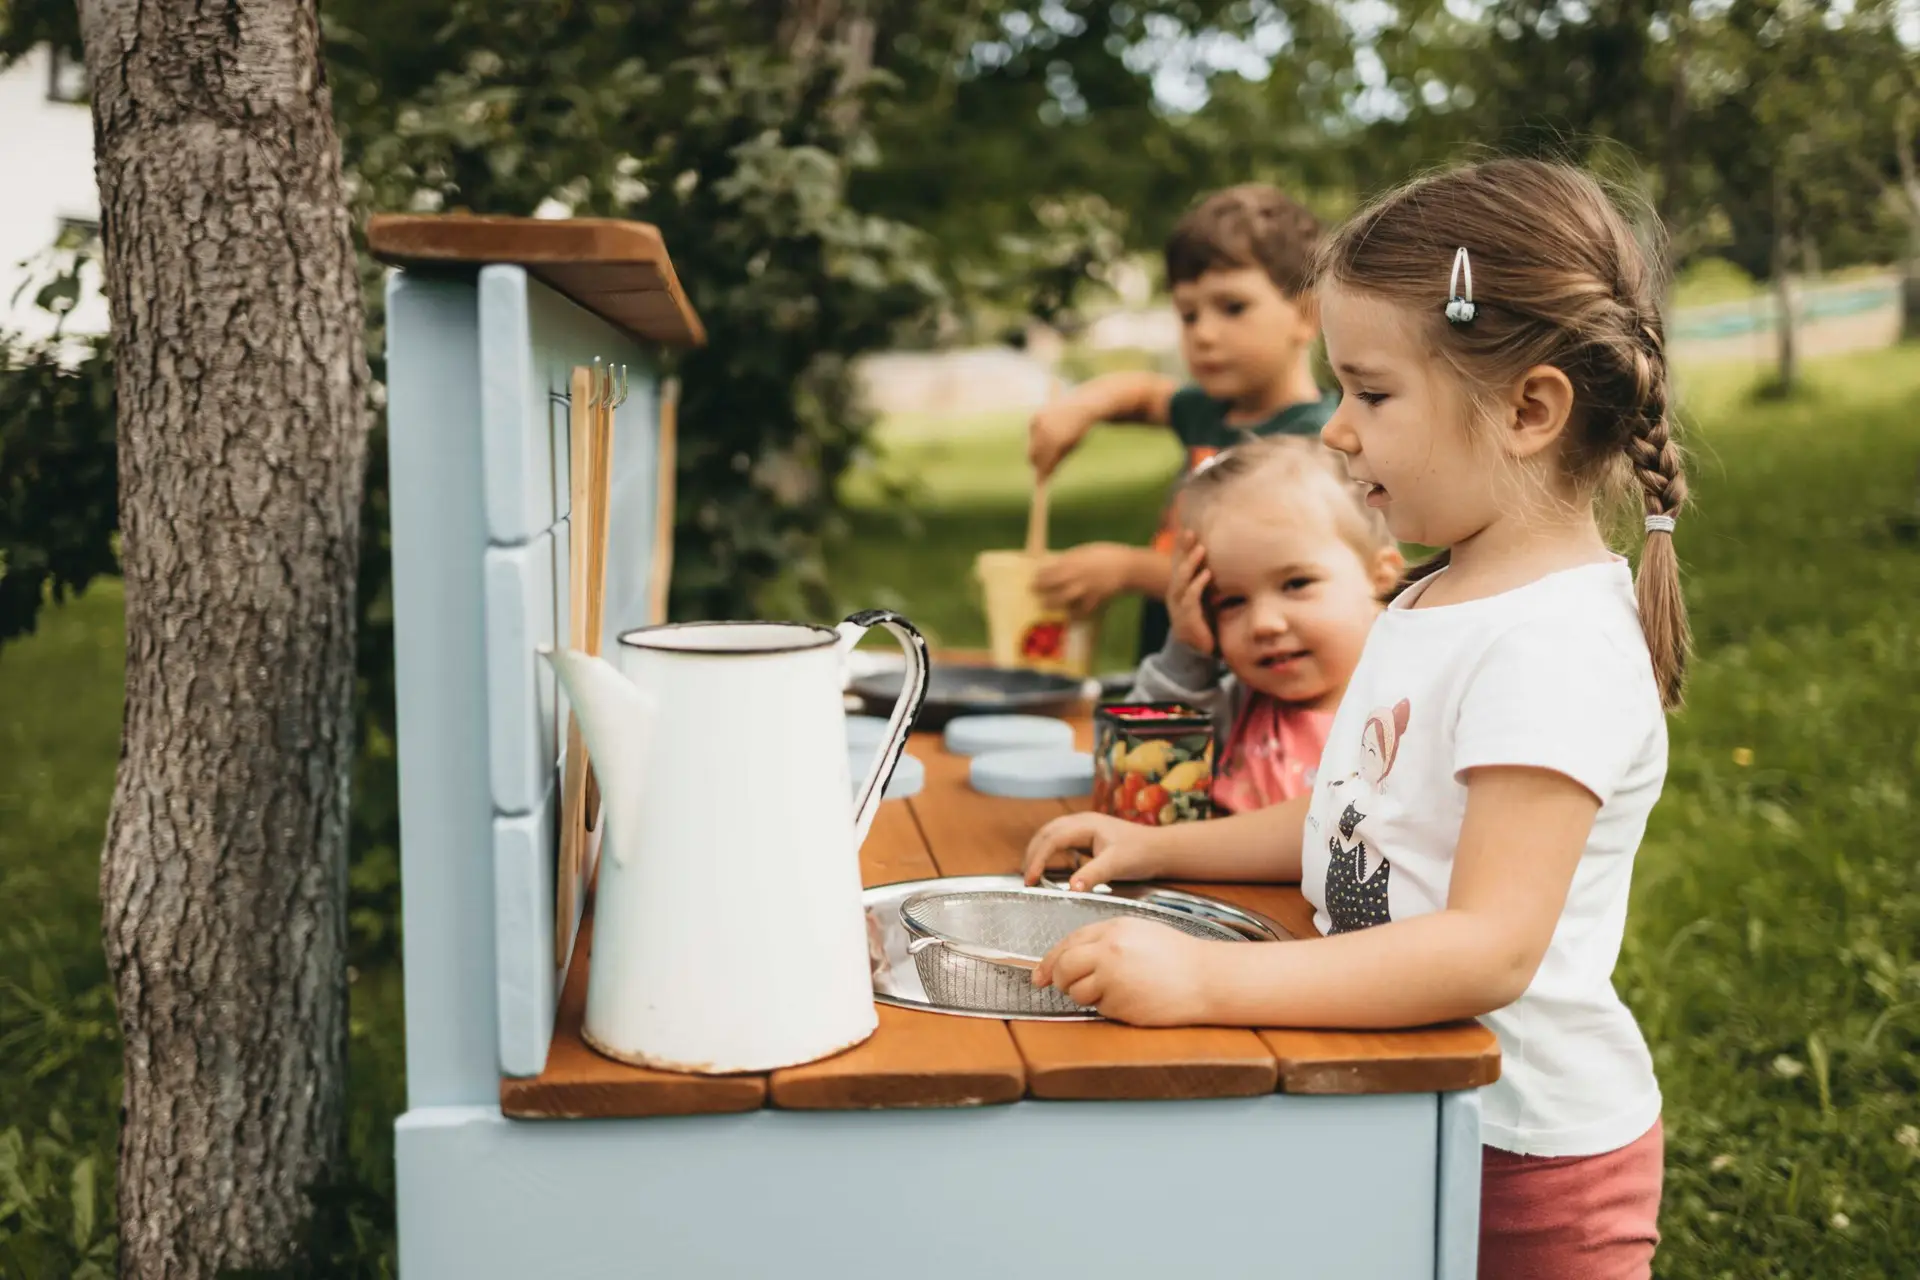
Step 4 — Introduce It to Your Child
The best way to introduce a mud kitchen is simply to open it and step back. Children don’t need instructions — their instincts take over almost immediately.
A little modelling on the first day can help younger children (especially under 3s). Making your own “mud pie” alongside them for ten minutes is usually all it takes to get play flowing.
Step 5 — Make It a Year-Round Feature
UK gardens in winter can feel uninviting, but a mud kitchen is actually better in the rainy months — there’s more mud. A few simple additions extend the season:
- A garden canopy or pergola: Keeps rain off the child, not the mud.
- A small mat: Placed at the “door” to the kitchen, it makes the transition inside less muddy.
- A torch or lantern: For dark winter afternoons when play continues after school.
Caring for Your Mud Kitchen
Our kitchens are built from treated solid wood designed for outdoor life, but a little maintenance goes a long way:
- Treat the wood annually with a child-safe outdoor wood oil or preservative
- Cover in winter with a breathable cover if possible
- Check screws and joints each spring
With proper care, a quality mud kitchen will last through multiple children and many years of use.
Ready to get started? Browse our range of handcrafted mud kitchens, available in 11 colours to suit your garden.